In the world of violin playing, certain rules and sayings are often repeated by peers and teachers, promising to resolve complex problems with ease. However, when we adhere to these rules inflexibly, we often discover that the optimal solution is still hidden.
These rules are frequently passed down without being tested for their validity or adjusted to fit an individual’s unique needs. This blog post is the first in a three-part series where we will explore common violin playing myths. Let’s dive into some of these issues:
Sit at the Front of Your Chair

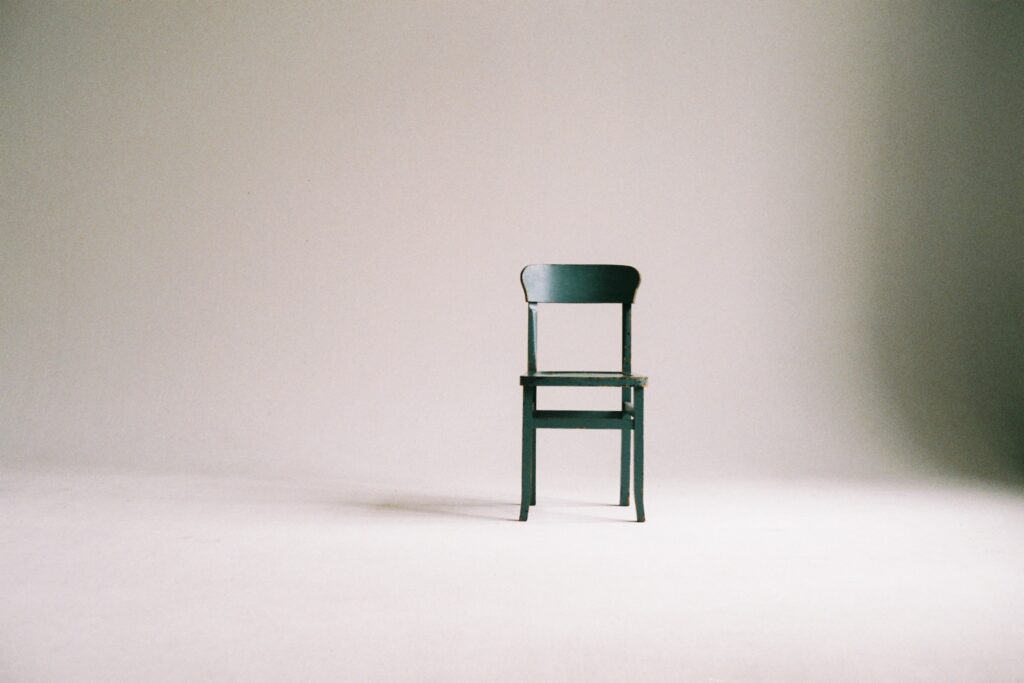
This age-old advice can be particularly problematic for tall players with long legs. Often, the chair is not high enough off the ground to allow you to sit at the front while keeping your thighs perpendicular to the ground with your feet flat on the floor. When the seat is too low, your thighs and knees point upwards, causing slouching as your core muscles become overused.
Depending on the individual, sitting closer to the back of the chair and wedging your lower tailbone into the back while slightly leaning forward can alleviate this issue. However, this is not true for every chair and every person. Some chairs force you to the front because your thighs are not long enough, or sitting at the back locks you into an unplayable posture due to a lack of lower back support or a too-prominent backrest.
Personally, if I sit at the front of a low chair, I need somewhere for my legs to go. Often, I end up tucking my feet underneath or stretching one out in front, which prevents me from maintaining the best support for a straight back. The optimal position is when your feet are flat on the ground with thighs perpendicular to the ground.
Some people can sit at the front of a regular chair and still move freely. Regardless of your position on the chair, the key factors to focus on are:
- Avoid slouching.
- Keep your upper body relaxed.
- Maintain strong core muscles.
- Ensure your whole body feels supported.
- If you sit back, understand the back of the seat as a pivot area for stability. Avoid slouching into the backrest. The seat should allow you to sit far back with your legs extending along the seating pad and your feet flat on the floor.
- Back problems can arise if the chair doesn’t allow you to sit in this pivot area. This can result from sitting back in a chair without a slight forward tilt of the seating pad or having a high backrest, both of which lock your back or shoulder muscles against a rigid backrest. No matter where you are seated, it is important to refrain from slouching, and that you are relaxed in your upper body whilst keeping your core muscles strong and your whole body feeling supported.
The last thing you want is to lock your back against the backrest. However, seeking the right kind of back support is beneficial as long as it allows you to be stable and is positioned low and close to your lower back.
Beyond general ergonomics, there are musical contexts where sitting further towards the front or back of the seat is advisable. However, we won’t delve into those specifics here.
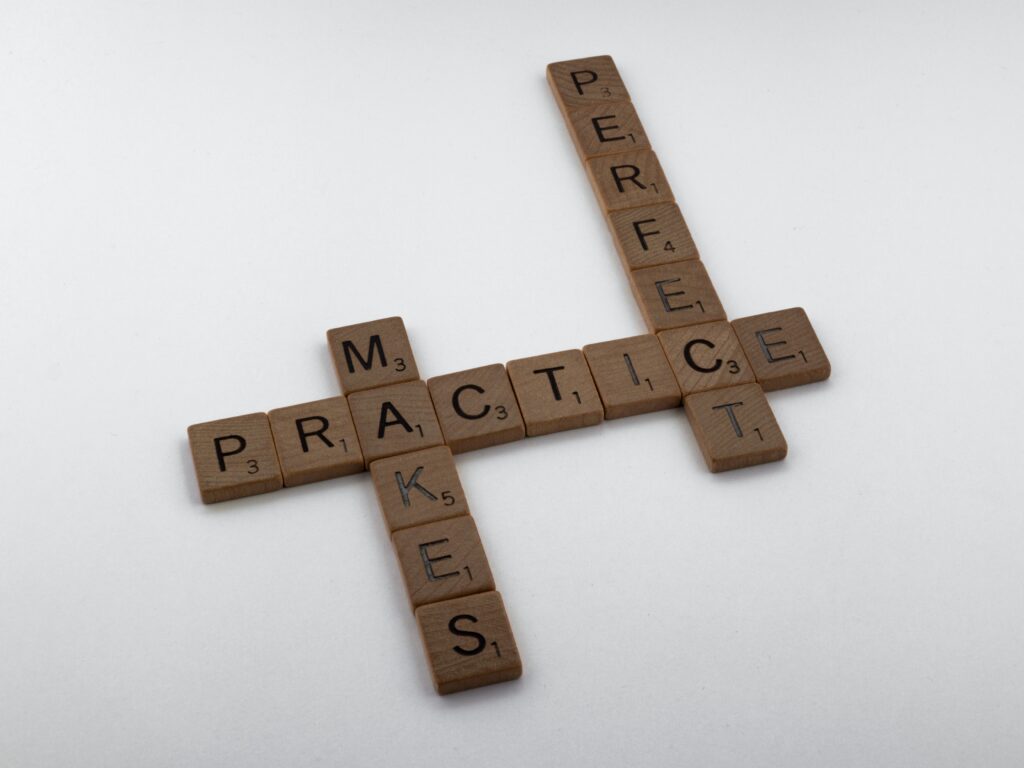
Practise Makes Perfect

This saying is somewhat true if you’re already satisfied with your playing and don’t want to change it. Repeating things during practice doesn’t make perfect; it makes permanent. Our bodies become proficient at what we repeatedly do. If you’ve become competent at playing something that isn’t at your best, hoping it will improve before a lesson or performance is unrealistic.
Discernment is crucial because sometimes 50% of a piece is all you can manage in a day. Great! Do it, but avoid excessive repetitions if you haven’t found the optimal way to improve that section. Mindlessly repeating a 55% or 60% version won’t lead to a 65% or 100% version; it results in muscle memory of improper solutions and can lead to faulty performances.
Consciously avoid drilling repetitions during the discovery phase. Instead, seek optimal solutions for each technical and musical challenge. Repetition is important when you are close to or at 100% of your capability. Competency is crucial but only when you’re ready to lock something in and perform technical difficulties reliably in any context.
But how do you know when you’re close to or at 100%? This is where having a teacher who understands your practice level and can point out blind spots is invaluable. If you don’t have a teacher, recording yourself and being self-analytical is necessary.
Remember: Practise makes permanent, so think of repetition as a tool to lock in your optimal solution to a technical problem. You still want your performance to be exciting and spontaneous, right? Then this is important! Be conscious of when you’re mindlessly repeating and learn the habit to stop and think instead.
Watch Yourself Play in Front of a Mirror (to fix crooked bowing)

Your teacher may have told you to watch yourself in a mirror to ensure you’re making straight bow movements. This seems simple, but there’s a catch: this fix only works if your left hand set-up is already aligned for a relaxed bowing arm. For others, this can develop awkward angles, tension, and unnecessary compensatory movements in the right side.
If your set-up is inherently causing a problem, no amount of muscle forcing will make you bow straight. If it does, it will compromise ease and tone production. To fix a crooked bow, consider these three variables:
- The position and rotation of your violin on your collarbone (or shoulder if you use a shoulder rest), as well as your chin rest.
- The position of your left hand/arm (scroll position relative to your midpoint)
- The angles of your right hand/arm, which should allow smooth, steady, easy action along a straight path, perpendicular to the bridge, with a relaxed bow hand.
Once these dimensions are set correctly, your right arm will naturally perform a straight bow. The parameters for bowing straight are built into the circularity of our arm through the elbow, wrist, and finger joints.
Finding the sweet spot that satisfies comfort in both arms is easier with a teacher’s assistance. It might require slight adjustments in how you hold your violin or where your shoulder rest or chin rest contacts the instrument. Experiment with aiming the scroll closer or further from your midpoint. The goal is for your right side to move naturally, allowing you to draw a straight bow without unnecessary compensatory movements. Always listen for a free and uncomplicated singing sound from your instrument.
Conclusion
Have you ever felt stuck with any of these sayings? Write a comment below and share your thoughts!
